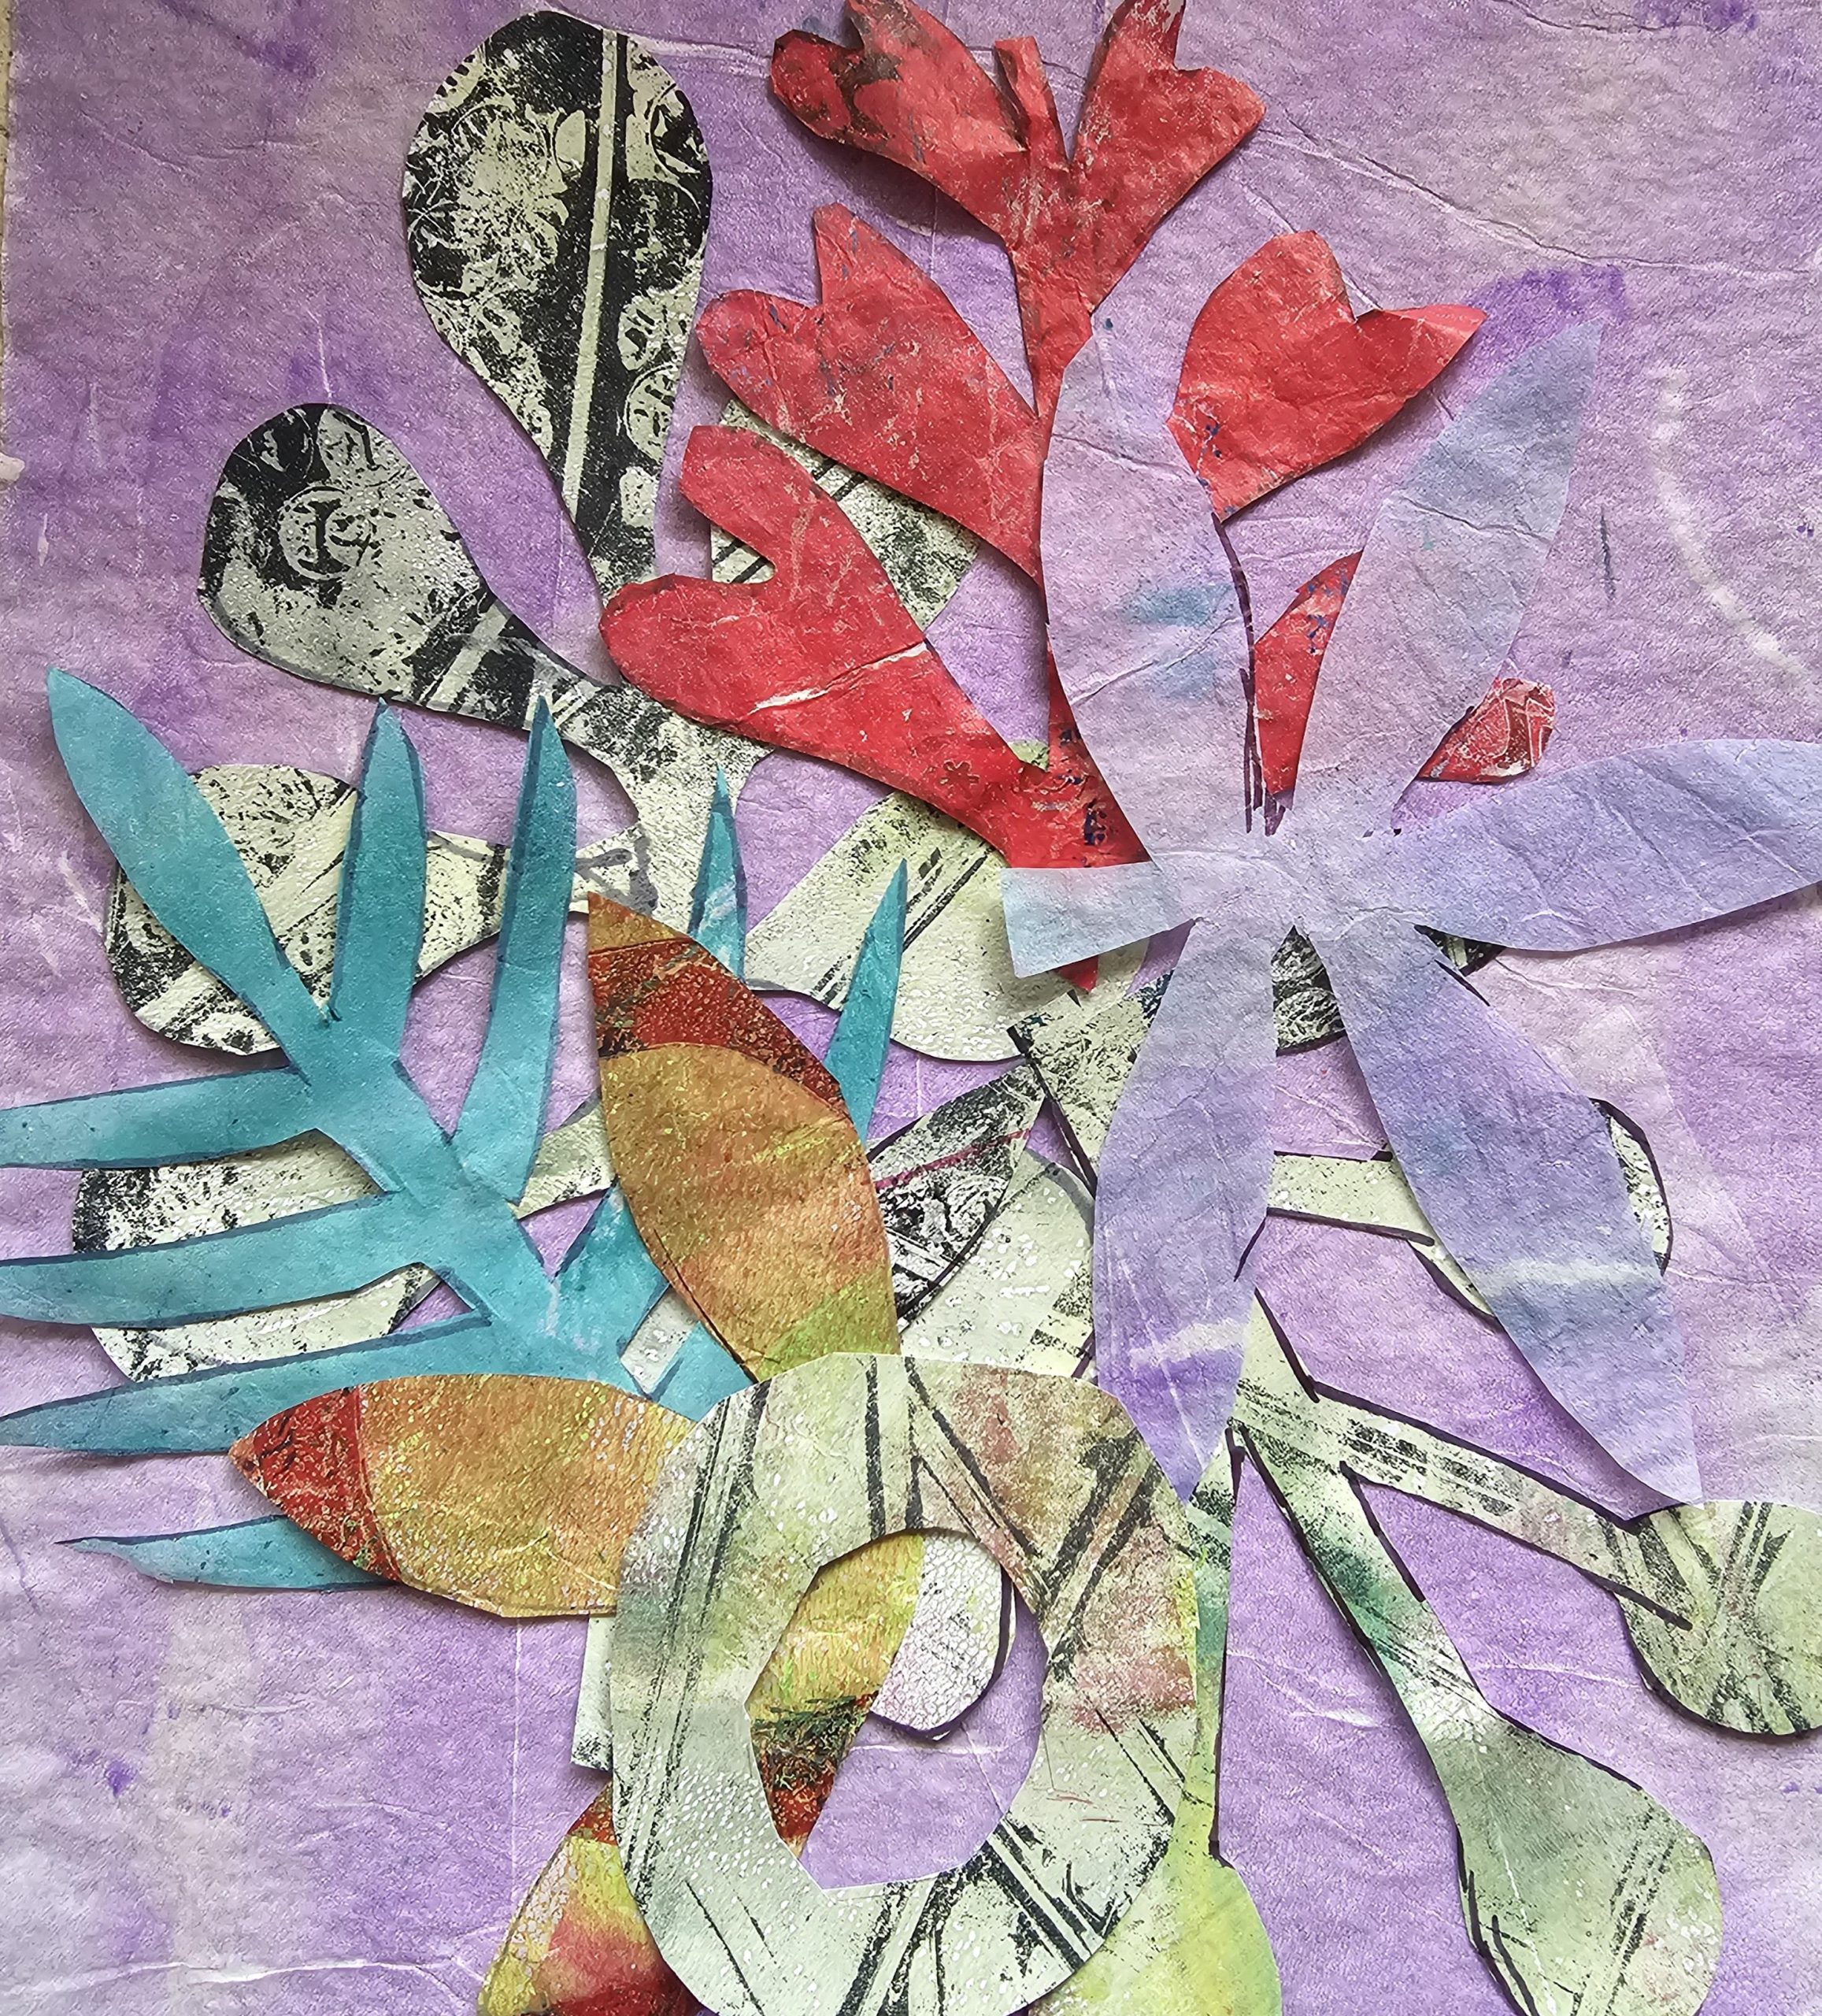

Gel plate printing is a monoprinting technique where you apply acrylic paint to a soft, jelly-like plate, add textures or stencils, and press paper on top to transfer the design. It requires minimal supplies and guarantees unique, one-of-a-kind results.
Essential Supplies for Gel Printing
- Gel Plate: The “jelly” surface used to hold and transfer paint. A 5×7 or 8×10 inch plate is ideal for beginners.
- Acrylic Paint: Fluid or soft-body acrylics work best, though standard craft acrylics are a great starting point.
- Brayer: A soft rubber roller used to spread the paint into a thin, smooth layer.
- Printmaking Paper: Standard copy paper, watercolor paper, or thin cardstock.
- Mark-Making Tools: Household items like bubble wrap, stamps, twine, combs, and stencils.
5 Easy Techniques for Beginners
1. The Direct Brayer Method
The simplest way to start is by rolling the paint.
- Squeeze a small amount of acrylic paint onto the gel plate.
- Use the brayer to roll the paint in one direction until it is smooth and suede-like (avoid rolling back and forth, as this creates streaks).
- Place a sheet of paper on top, gently smooth it out with your hands, and peel it off to reveal a solid color monoprint.
2. Texture & Mark-Making
Transform flat prints by adding textures.
- After rolling out a smooth layer of paint, press found objects into the wet paint (e.g., bubble wrap, lace, leaves, or crumpled paper).
- Remove the objects, revealing a negative impression in the paint.
- Lay your paper on top, press, and pull to reveal a highly textured print.
3. Stencils & Masks
Stencils are a fool-proof way to create defined shapes.
- Roll out a thin layer of paint, then place a stencil flat on the plate.
- Place a piece of paper on top, and pull the print. The paint blocked by the stencil won’t transfer, leaving behind a crisp shape.
- Alternatively, use a “mask” (the solid piece cut out of a stencil) to block out an area of paint before laying down a second color for beautiful, layered contrast.
4. Ghost Prints
Double your art supplies with this technique.
- After pulling your first print, you will notice there is still a thin, dried layer of paint left on the gel plate.
- Instead of cleaning the plate, place a fresh sheet of paper on top, press, and pull.
- This “ghost print” often picks up subtle, vintage-looking details and the leftover textures from your previous run.
5. Simple Layering
Layering adds depth and dimension to gel prints.
- Create a simple textured print using a light, transparent color, and let it dry on the paper.
- Apply a second, contrasting color (opaque is great here) to the gel plate, add a new stencil, and print directly over your first design.
Tips for Success
- Less is More: Too much paint will cause your brayer to slip and result in a muddy, wet mess. Aim for a thin layer where you can still see the plate through the paint.
- Paper Matters: While copy paper works, high-quality printing papers and mixed media papers yield richer, more vibrant pulls.
- Cleanup: Gel plates are easy to clean with just a baby wipe or a damp cloth. However, avoid using sharp or pointed tools that might scratch the soft surface.
Leave a Reply